


J
jonnymb_98
Click here to upgrade
- Last seen
- Joined
- May 22, 2019
- Thunderbird Year
- 1966
Trying to resolve a host of electrical issues with my '66 Thunderbird. Not very inclined with this sort of stuff, so if my information is insufficient then please let me know and I will try to oblige.
Initially, none of the turn signals or brake lights were functioning. I replaced some fuses, then voila, the right turn signal was working. And the brake lights were working IF the right turn signal was active, and only then... lol.
Few minutes ago, went to replace the top right fuse, realized I didn't have a replacement so I put it back in, and now none of the turn signals and brake lights are working.
Any ideas at all? Ty.
Edit:
Note that the headlights and tail lights (last I checked) worked properly.
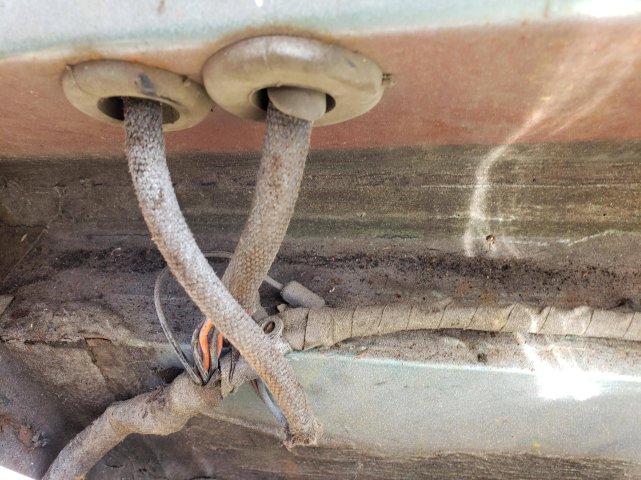
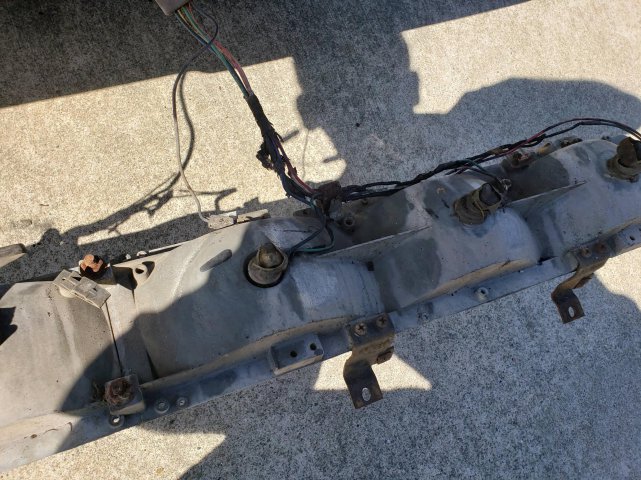
Attachments
Last edited by a moderator: