Bobwheeler
Click here to upgrade
- Last seen
- Joined
- Dec 28, 2021
- Thunderbird Year
- 2004
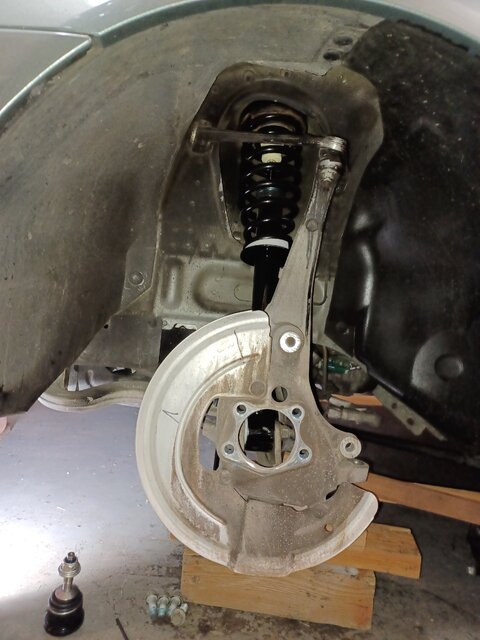
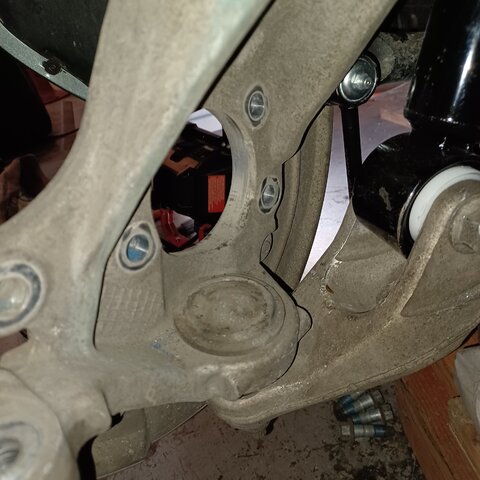
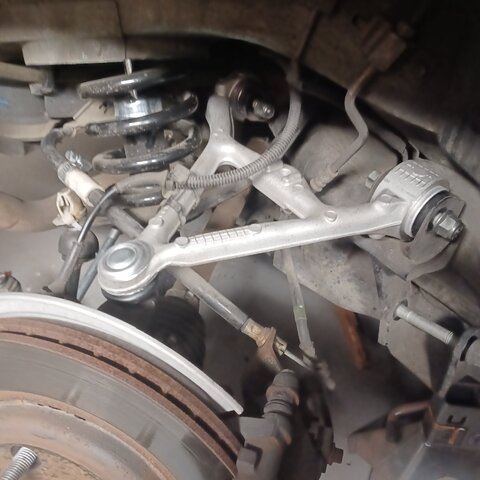
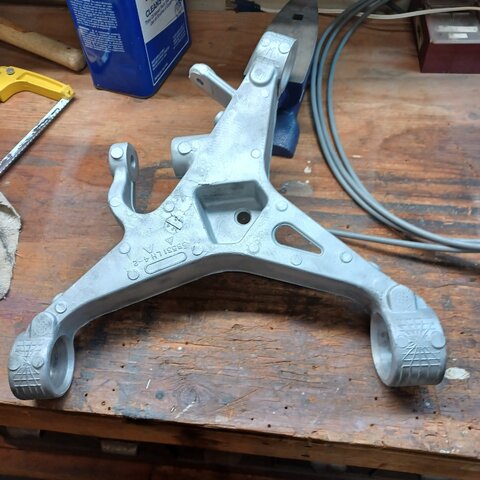
I replaced both front strut assys. and sway bar links. In doing so, I studied the two "A" arms. To remove/install the strut, I had to remove the big nut on the lower ball joint and pry the lower "A" arm down so the bottom of the strut would fit into the pocket. Question: Logic would tell me that the "A"arms would move up and down almost freely. Can anyone tell me what to expect here?
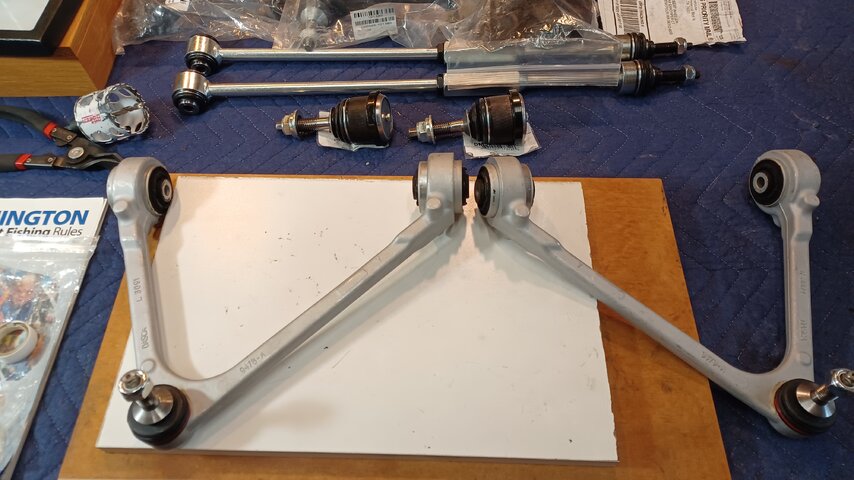
Eventually I expect to replace these parts too but everything is tight. No movement of ball joints or "A" arm bushings both sides. The lower ball joint boots were fine. The uppers were totally gone. As an interim fix, I cleaned up the upper joints completely, repacked with grease and wrapped with self sealing vinyl tape as suggested by another member. Will do the rear struts next.
Eventually I expect to replace these parts too but everything is tight. No movement of ball joints or "A" arm bushings both sides. The lower ball joint boots were fine. The uppers were totally gone. As an interim fix, I cleaned up the upper joints completely, repacked with grease and wrapped with self sealing vinyl tape as suggested by another member. Will do the rear struts next.
Last edited by a moderator: