Excaliburss
Click here to upgrade
- Last seen
- Joined
- Dec 4, 2016
- Thunderbird Year
- 1968
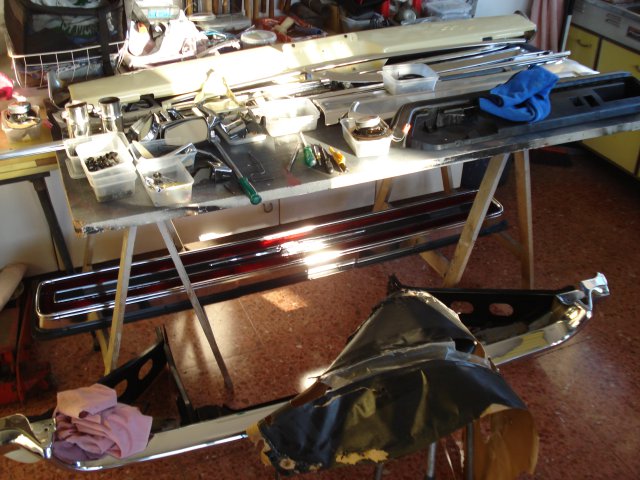
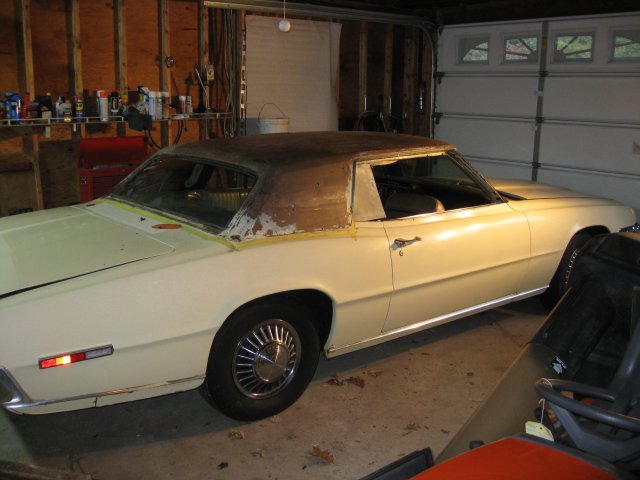
 Hi everybody ! I decided to give my car a respray because of many miniature dents and some scratches. I got about everything off the car now but struggling with these thin border moldings between the vinyl roof and the body. Can anybody tell me how to get them loose ? Can it be possible that these are with screws from the inside ? Means all interior out and surch for them screws/nuts.....? Or am I lucky and they hang on just with clips ? Anybody knows for sure ? Appreciate any answer....good or bad !
Thanks a lot
")